About the mutation sheet (linking)
What is linking in Celery?
Every month you have changes for your employees. Think of worked hours, overtime, sick hours, or a one-time bonus. We call these mutations.
You can upload all these mutations into Celery in one go, using an Excel sheet. That saves you a lot of typing.
But first, Celery needs to know one thing: which column in your sheet belongs to which pay code? Telling Celery this is called linking.
The good news: you normally only have to do this once. After that, Celery remembers it.
Step 1: Create your import sheet
Maybe you already have a sheet you use every month. Or a file from your time registration system. You can use it, as long as:
- The first column contains the employee number.
- Each type of mutation appears only once per employee. So the file must show totals per period. If your time registration system doesn't do this, you may need a small helper (a macro) to add up the numbers first.
One important rule: each column can be linked to only one pay code. And each pay code can be used only once. So give every mutation its own column. Never combine two things in one column.
Download the template
- Go to the tab Employer, then to the tab Integrations.
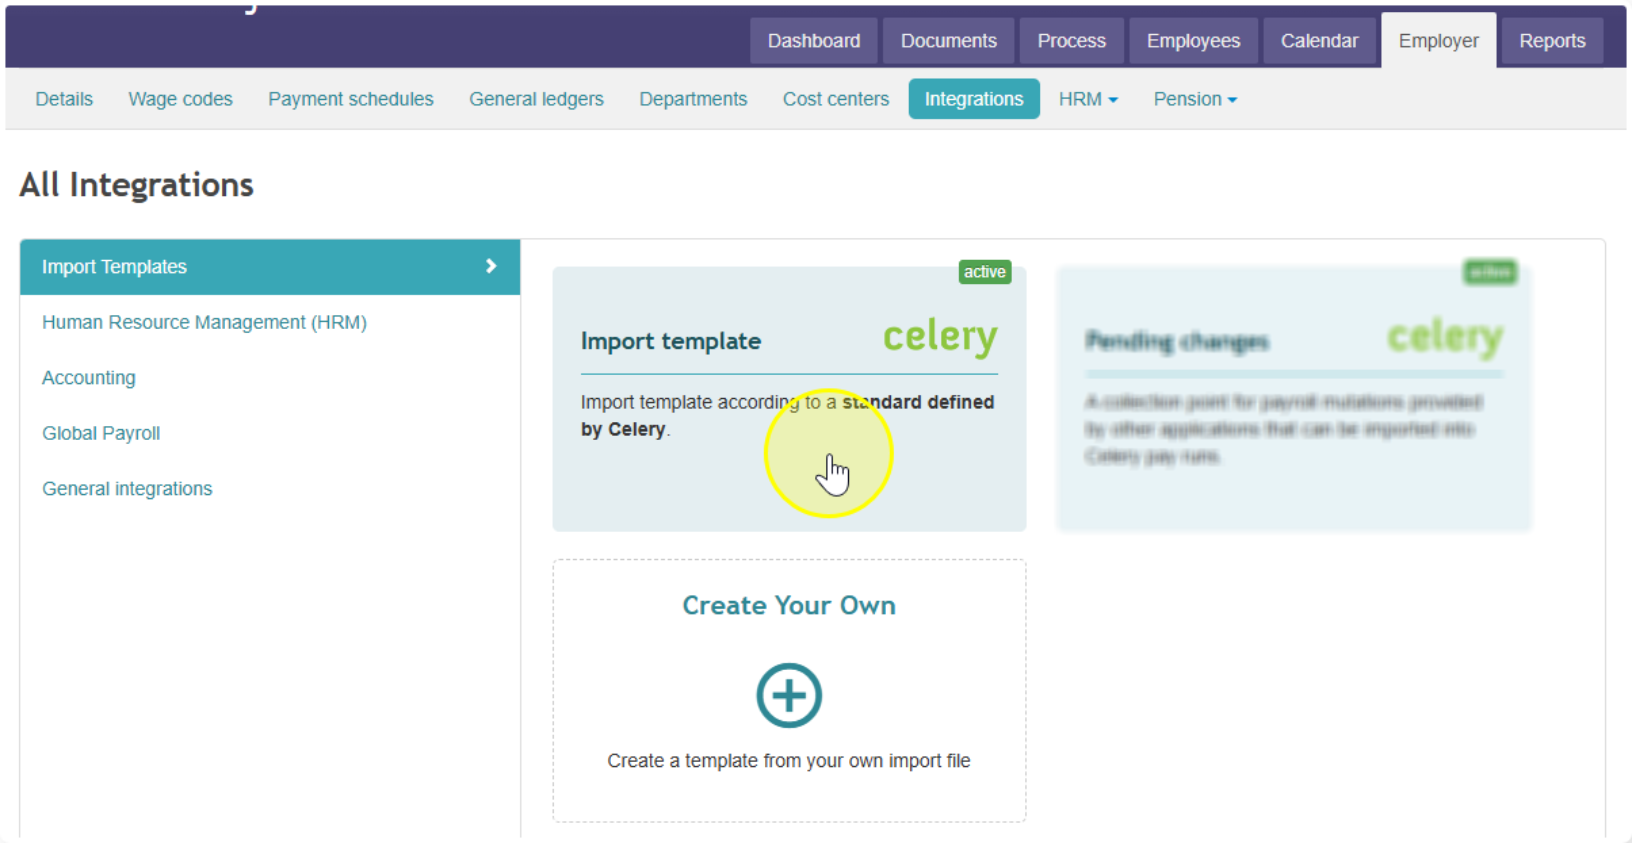
- Choose the Import template. You will adjust this in a moment.
- Scroll down a bit and click to download the template.
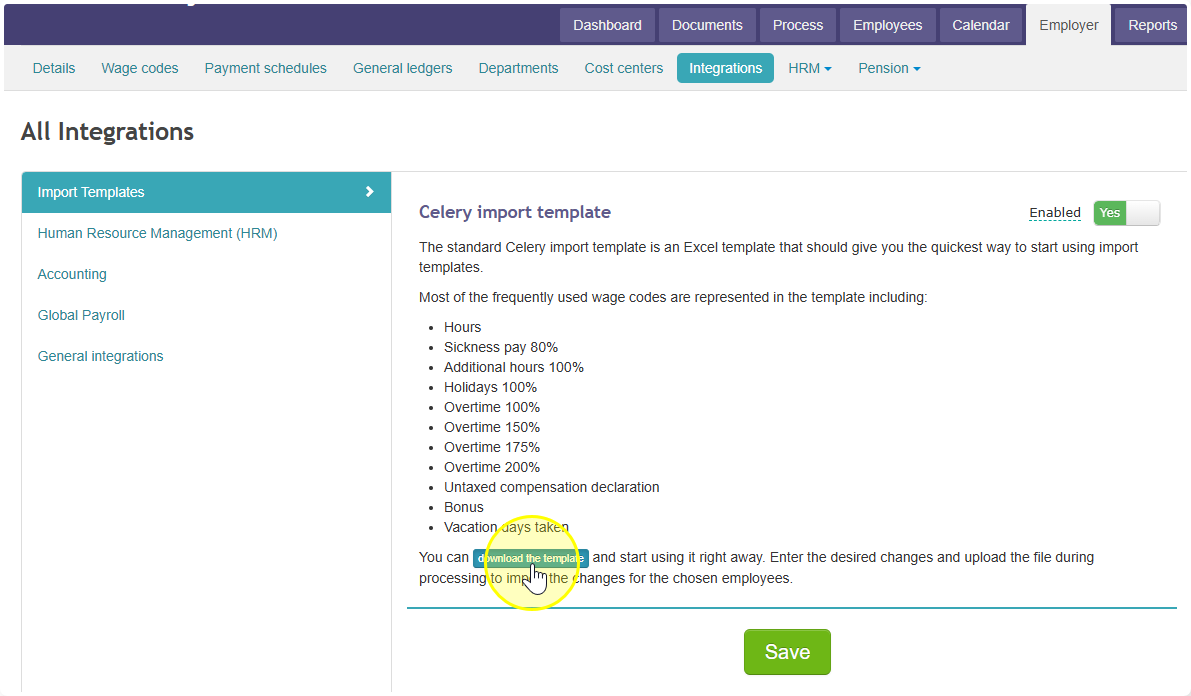
- You can open the file in your download folder of your computer.
Adjust the template
- Delete all columns starting from column C. Keep only columns A and B. Now your sheet only shows the employee numbers and names.
- Add your own columns for the mutations you use every month. For example: hours, overtime 150%, overtime 200%, sick 80%, sick 100%, expense claims. You can add as many as you like.
- Put the columns in the order that works best for you. Take a moment for this! You cannot change the order later without setting up the link again.
- Save this sheet as your template. You will reuse it every month.
Step 2: Fill in the sheet each month
- Make a copy of your template. Give it a clear name, like the period and year.
- During the month, fill in the mutations as they come in.
- Is there a mutation that is not in your template? You have two options:
- Add it as a new column at the end of the sheet.
- Or enter it by hand in the variable mutations in Celery.
- At the end of the month, add up the totals under each column.
- Upload the sheet into Celery, for example on the 1st of the month in which the mutations should be processed. Not sure how to upload? Read our article "How do I put something in tab documents".
Step 3: Link the import sheet
Now you tell Celery which column belongs to which pay code. Follow these steps:
- Go to the tab Employer, then to the tab Integrations.
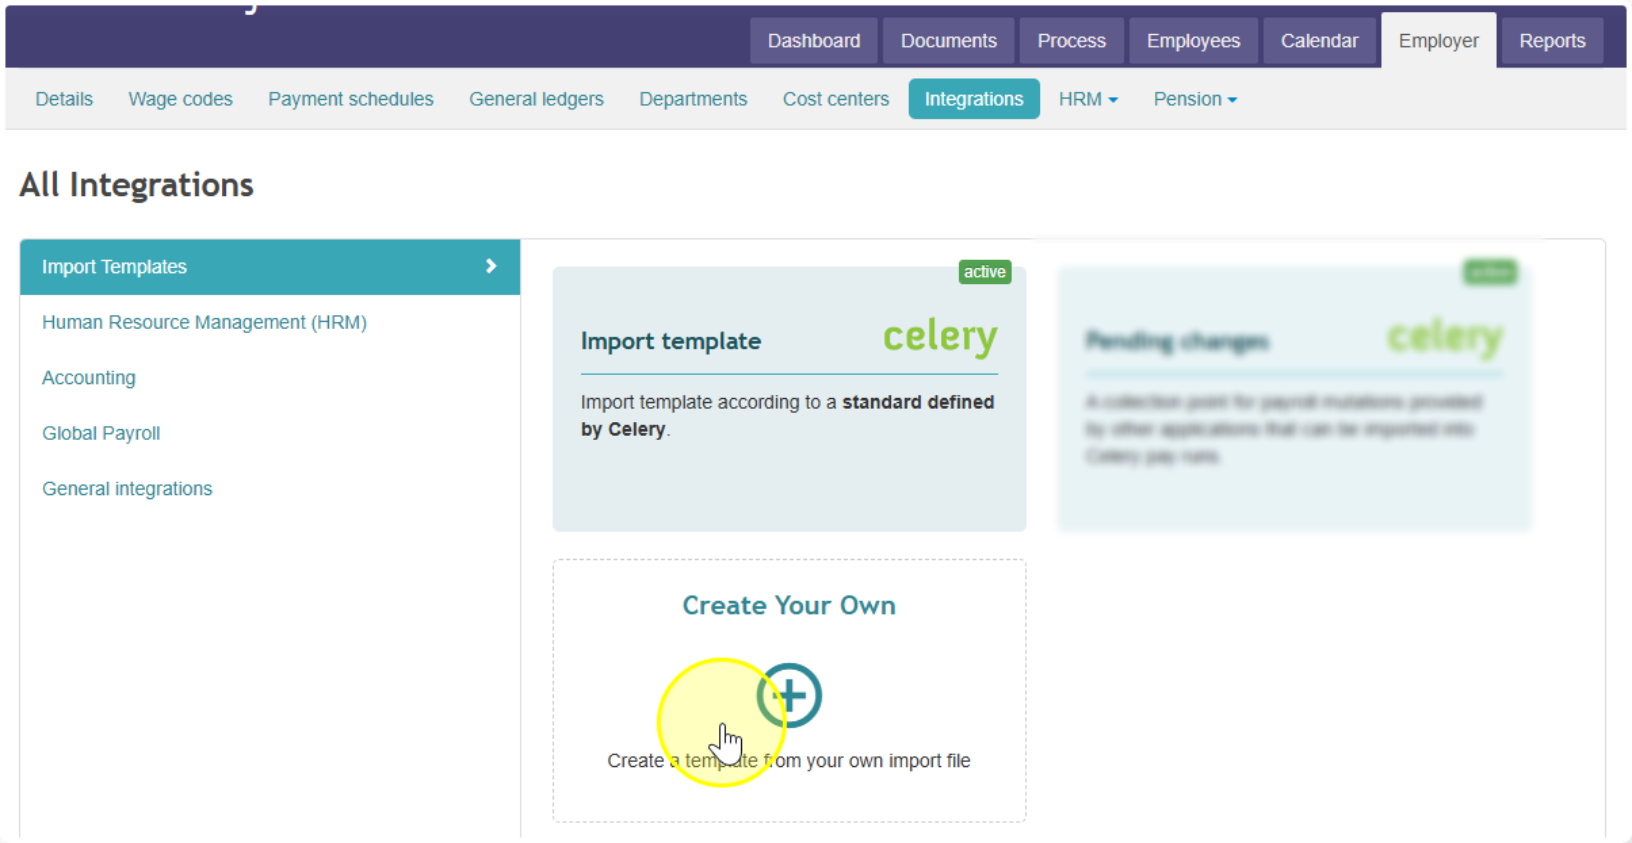
- Choose Create Your Own.
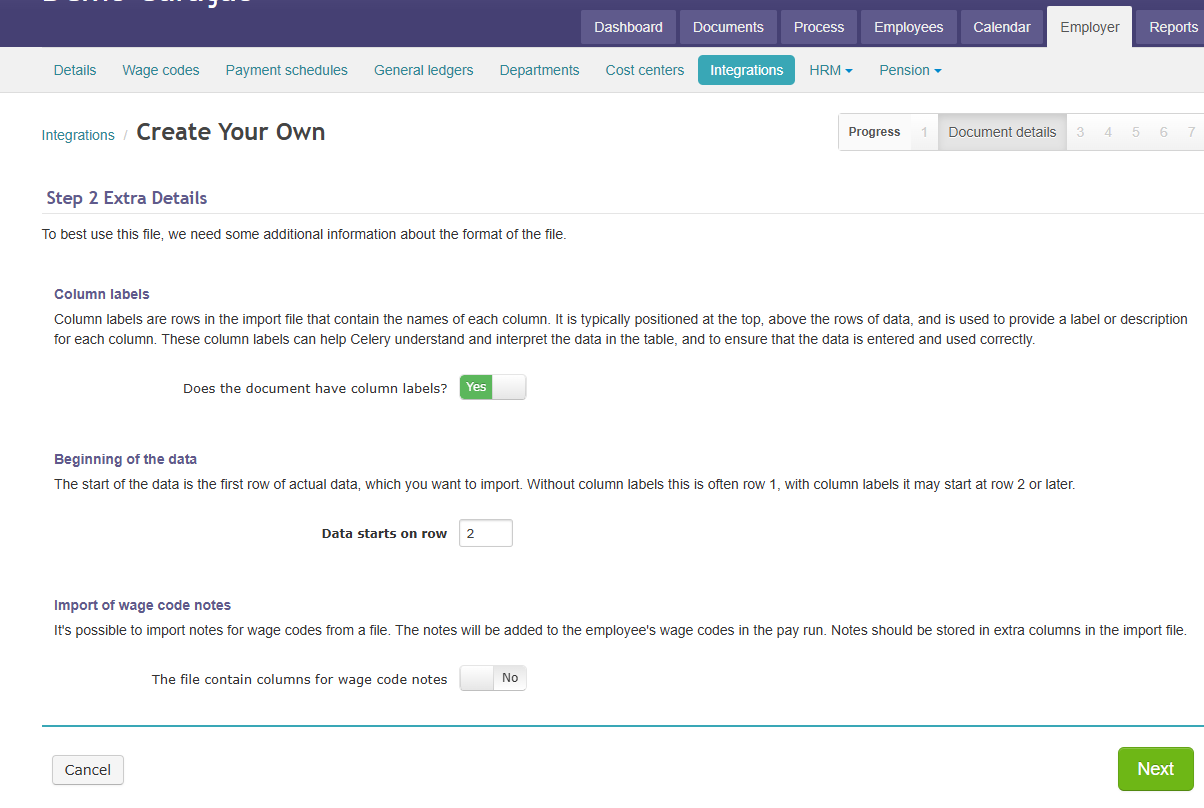
- Step 1: Pick your Excel or CSV file. This is the import sheet you made earlier. Click Open.

- Step 2: Celery checks if your file is suitable for importing. You don't have to do anything here.
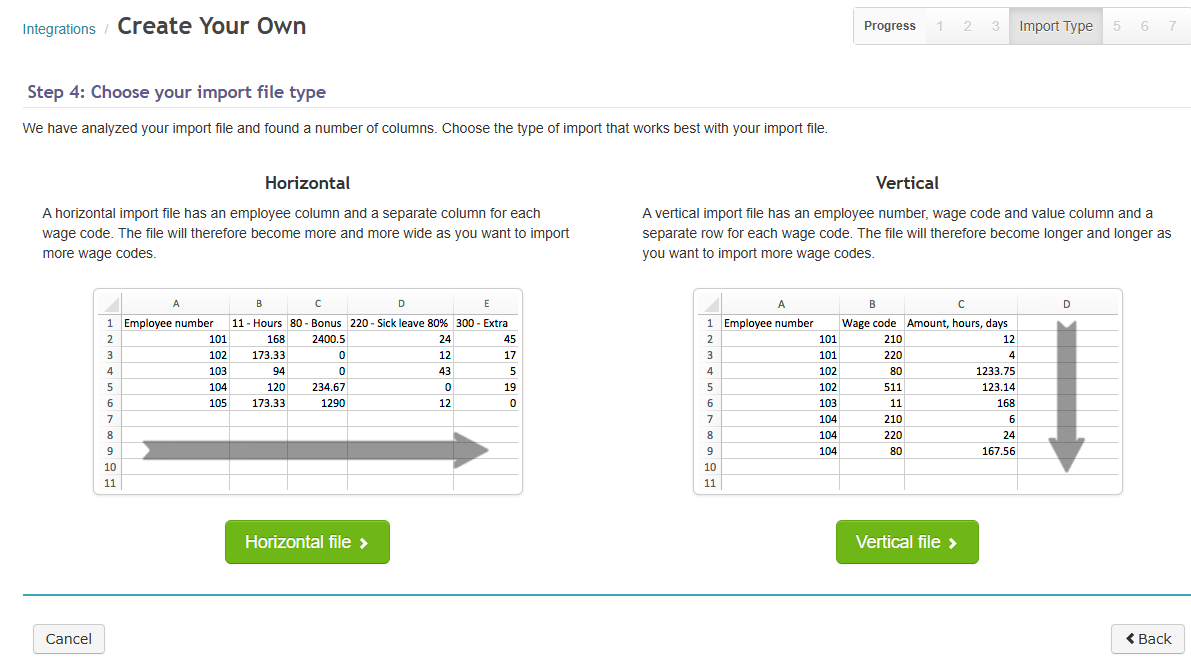
- Step 3: Choose how you want to import. In our example, click the green Horizontal File button.
- Step 4: This is the important part. Link each column to the correct pay code.
- Remember: one column = one pay code. Each pay code can be chosen only once.
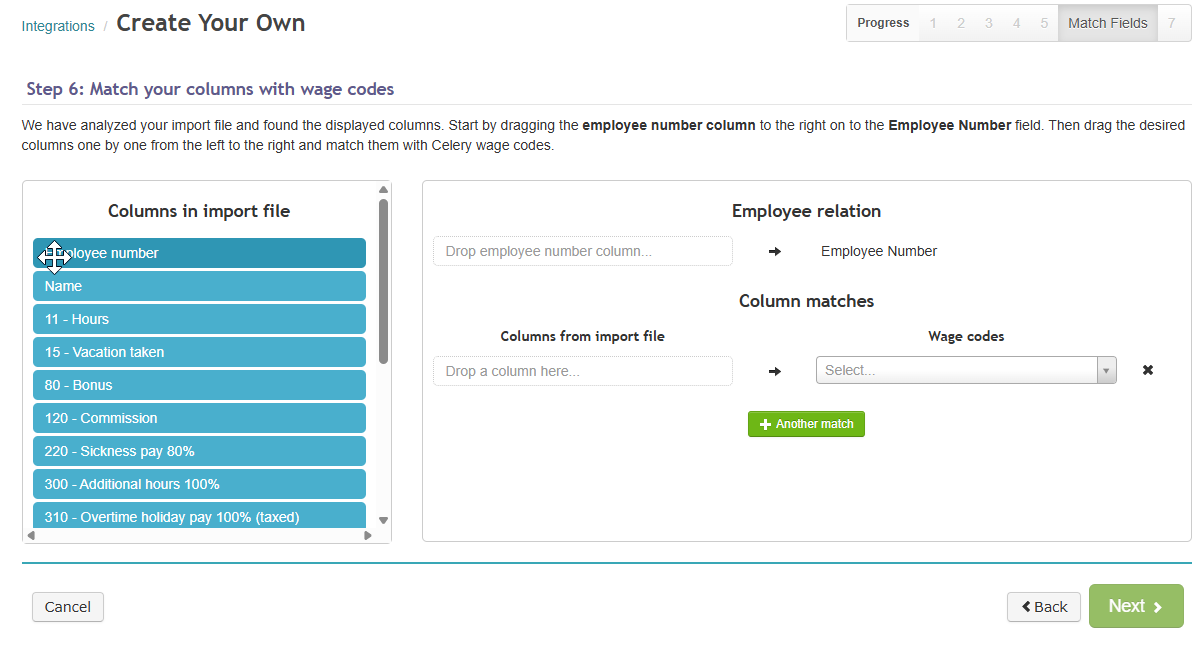
- The very first column is always the employee number.
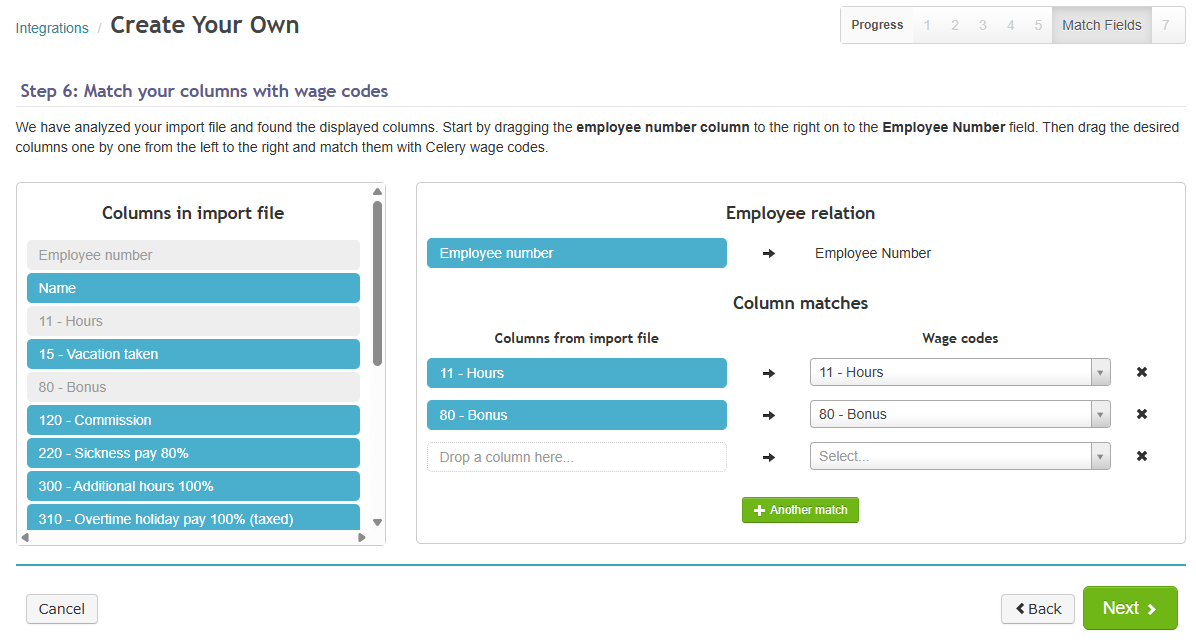
- Remember: one column = one pay code. Each pay code can be chosen only once.
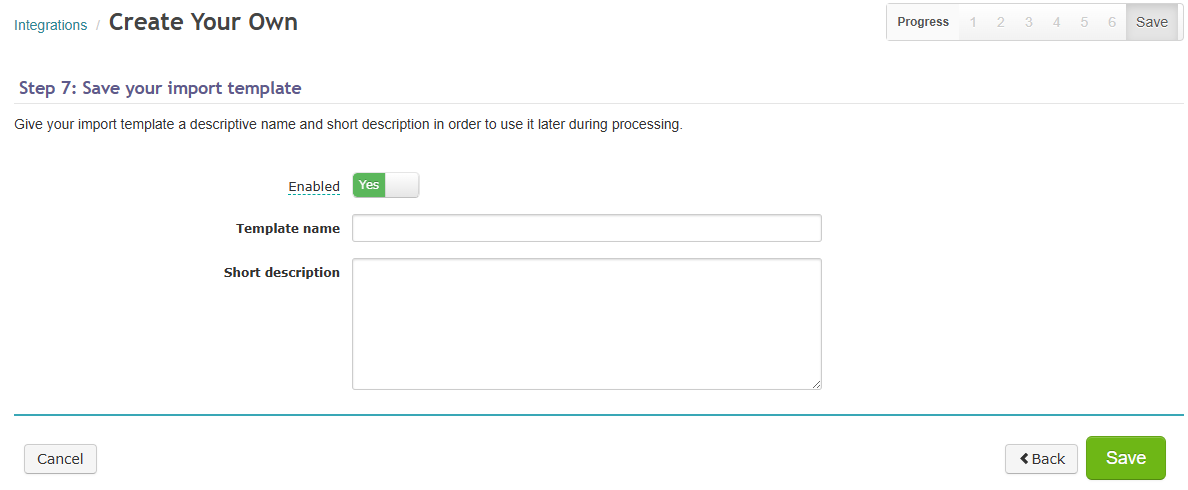
- Click Next and give your template a name. For example: Mutations.
- Tip: don't use a month or year in the name. You will see this name every time you import, so keep it general.
- Tip: don't use a month or year in the name. You will see this name every time you import, so keep it general.
- Click Save. Done!
Your template is now ready. From now on, you can import your monthly mutations quickly and easily. How to do that? Read our article How do I import a mutation sheet.