Start your first payroll run
Step 1: Gather your changes
Before you start, gather every change ("mutation") you want to include in this run.
Changes that repeat every period (fixed changes)
Enter these in the employee's file first, under the Employees tab. If you haven't done this yet, do it now before continuing.
These include:
- A new employee joining
- An employee leaving
- Updates to personal details or salary
- A new bank account
- Fixed pay items — things that repeat every period, like a regular bonus code or a taxed benefit. This also includes an advance that's paid back in several parts over time.
One-time or variable amounts
You can add these after you've created the payroll run. For example:
- Overtime
- Bonuses
- A one-time deduction or extra payment
- Paying back an advance in a single payment
- A change to a fixed item, but only for this one period
Step 2: Create the run
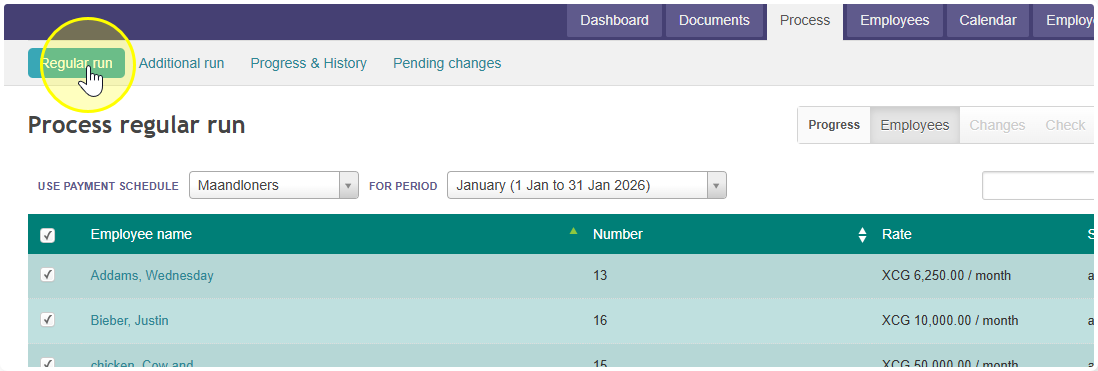
- Go to the Process tab.
- Choose Regular run. This is your normal, standard payroll run for the period.
Want to know the difference between a regular run and an extra run? Read more here.
Step 3: Add your changes
If you haven't updated the fixed changes yet, you still can. After changing something in the Employees tab, click Update inside this run to pull those changes in.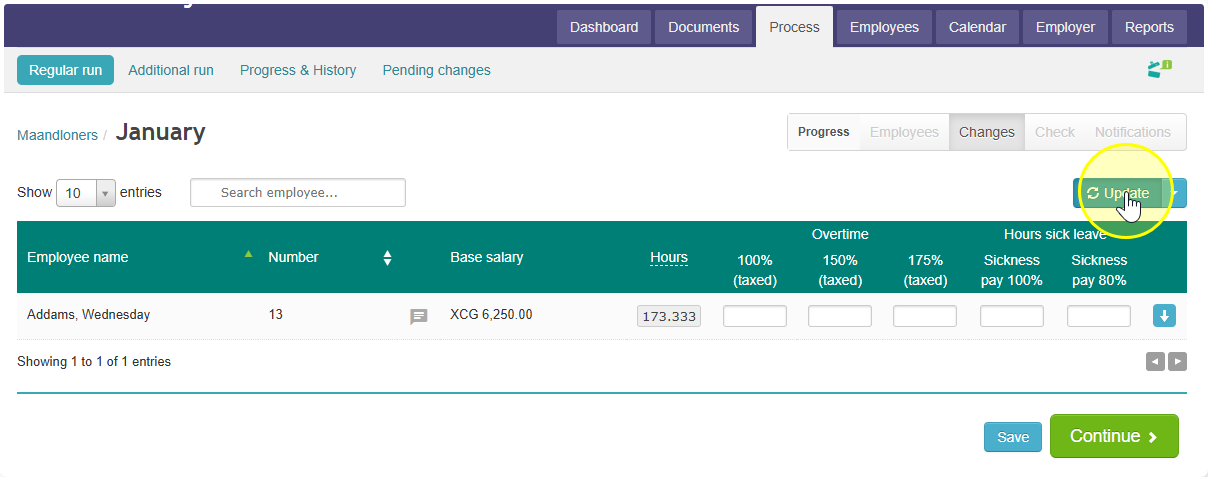
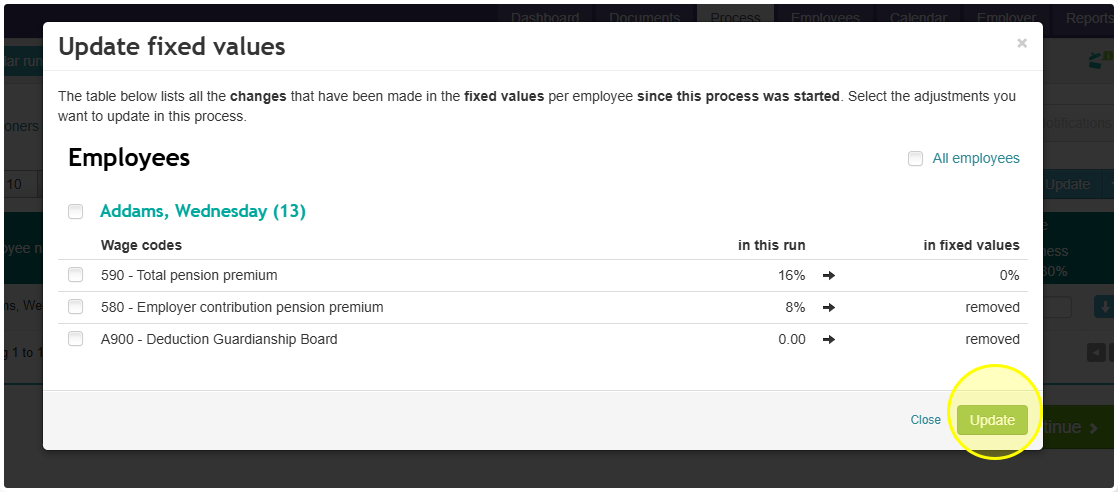
Now add all the one-time or variable amounts. You can type these in by hand, or import them from a file. Want to import from Excel? Here's how to link your Excel sheet and import it.
You can also change which wage codes show up in the toolbar. Find this in the dropdown menu next to the Update button.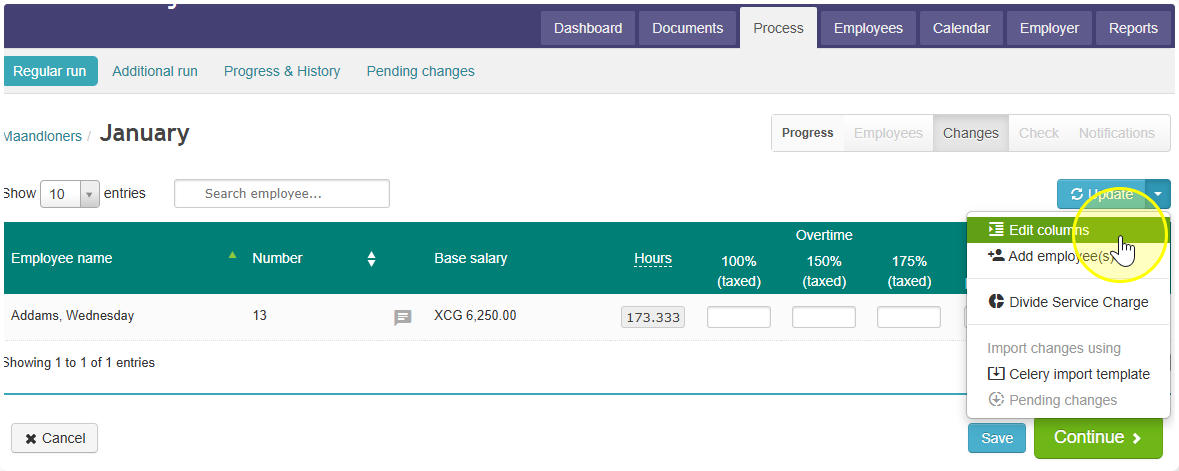
Once everything is entered, click the green Continue button.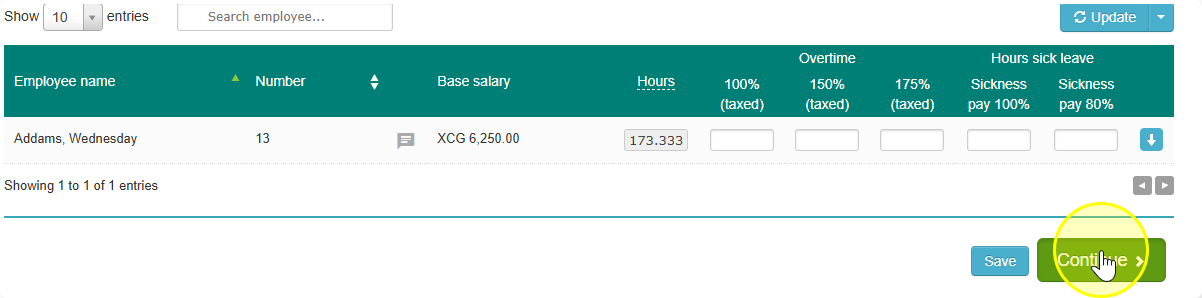
Step 4: Check the test payslips
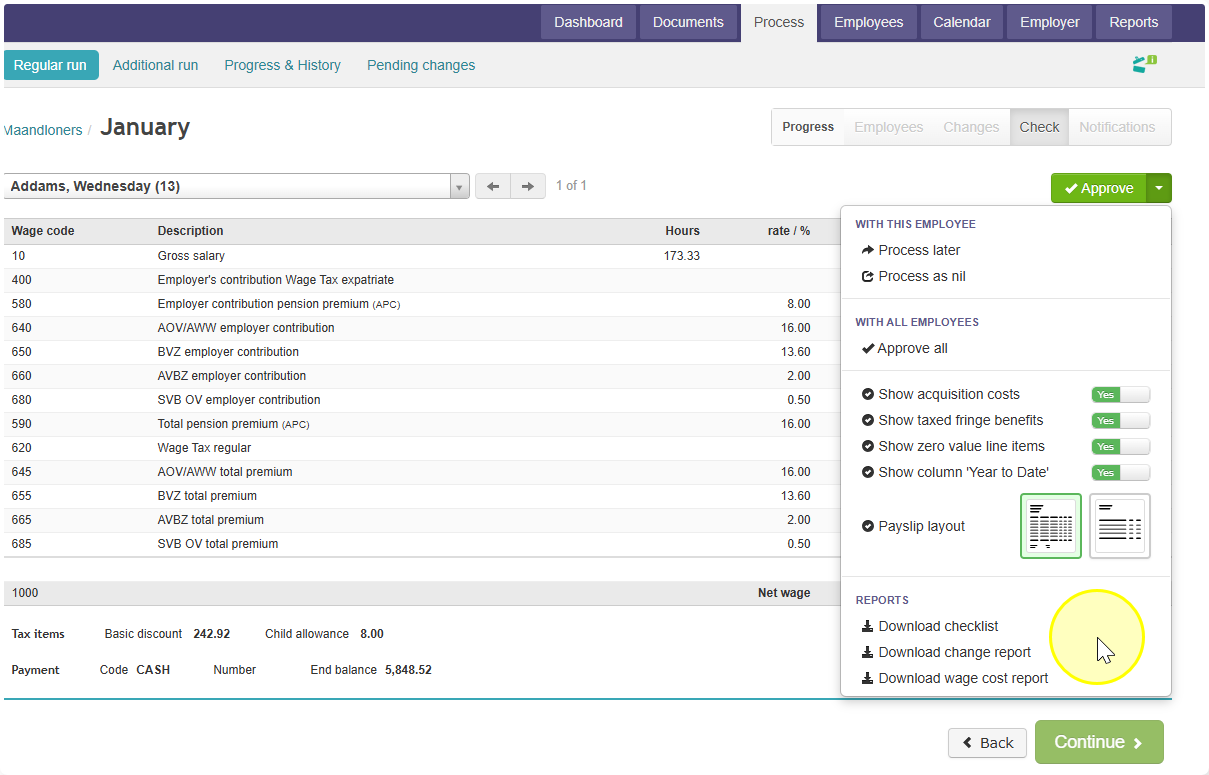
Look through the payslips online to make sure every change went in correctly. You can go back and edit a change at any point.
Prefer a list? You can download a checklist or a change report from the dropdown menu next to the Approve button.
Step 5: Approve the test payslips
You have two options:
- Click the green Approve button on each payslip one by one, or
- Check all the payslips first, then approve them all at once from the dropdown menu next to the Approve button (faster).
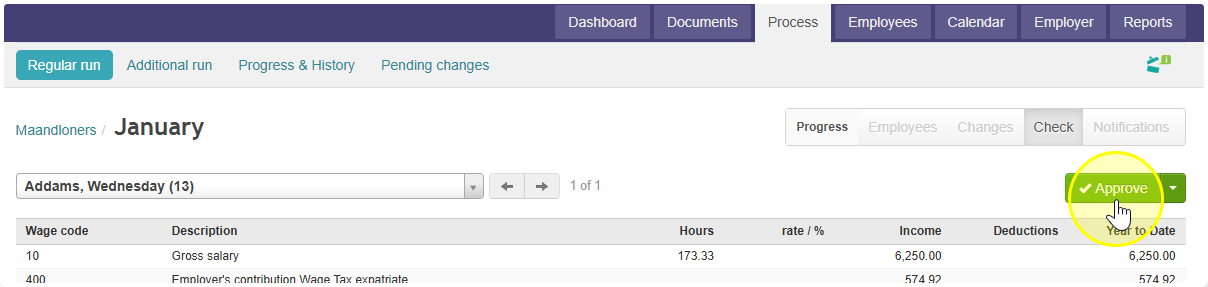
Once every payslip is approved, click the green Continue button.
Step 6: Choose your output settings
Here you decide:
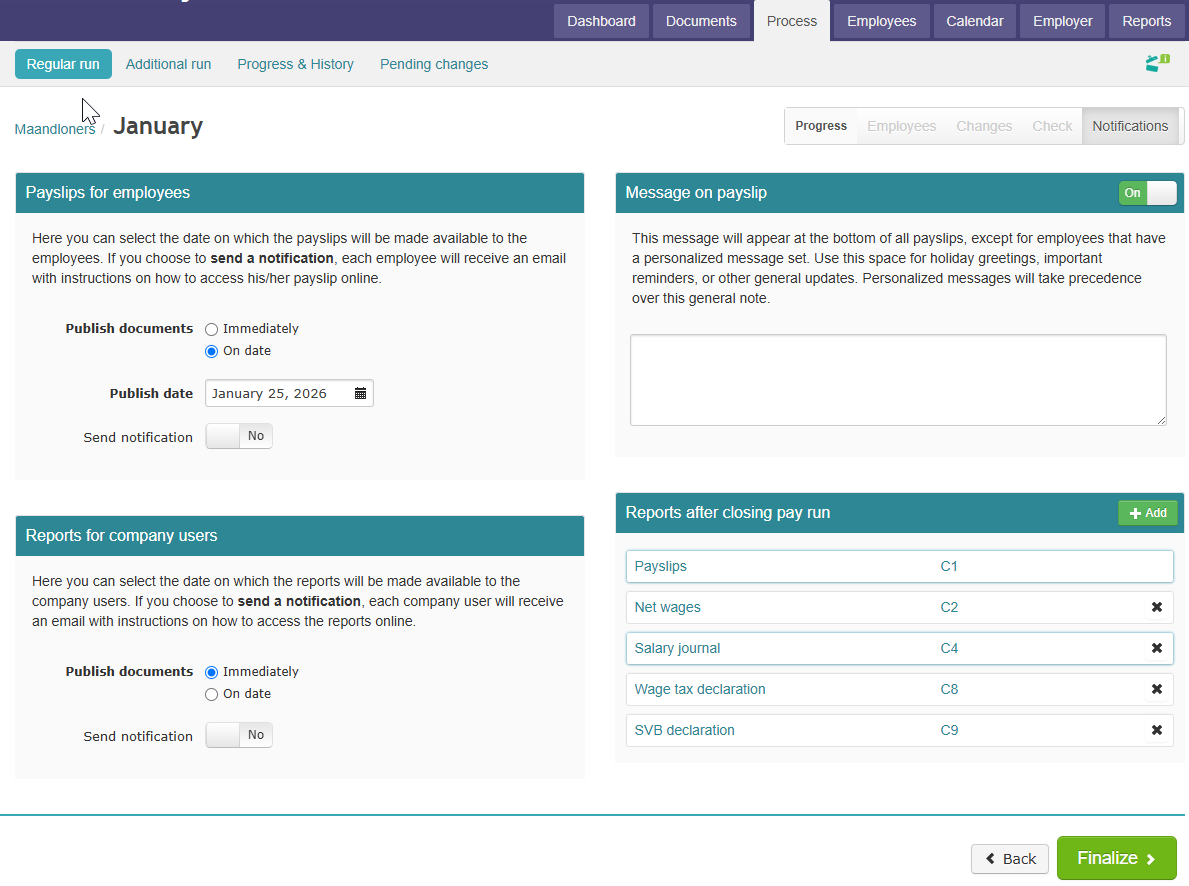
- When employees' payslips should appear in their personal file, and whether to notify them by message.
- When other documents should be published in the Documents tab, and whether to notify your company users. Learn more about company users here.
- Whether to add a general message. This appears on every employee's payslip, not just one person's.
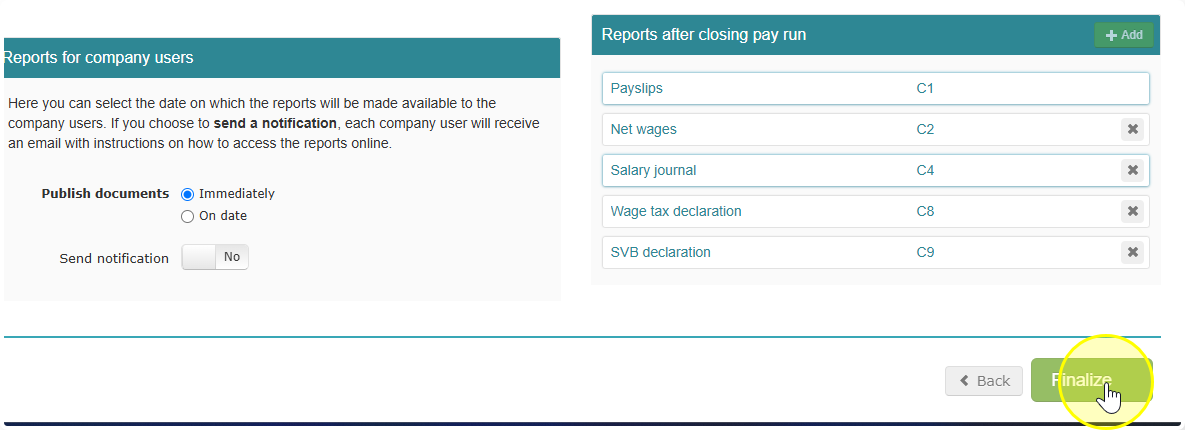
- Which reports get saved to the Documents tab after closing. Tip: we recommend leaving this on the default setting. You can always find every report in the Reports tab afterward.
Step 7: Finish the run
Click on Finalize. Celery will automatically create and save your selected documents as PDF files in the Documents tab, under that period.
Made a mistake?
If you need to delete or reopen a closed pay run, here's how to: