How to Add Employees
You have two ways to add employees:
- One at a time — good for just a few people. Read how to do that here.
- All at once (import) — much faster when you have many employees. Use this when starting up or taking over a company.
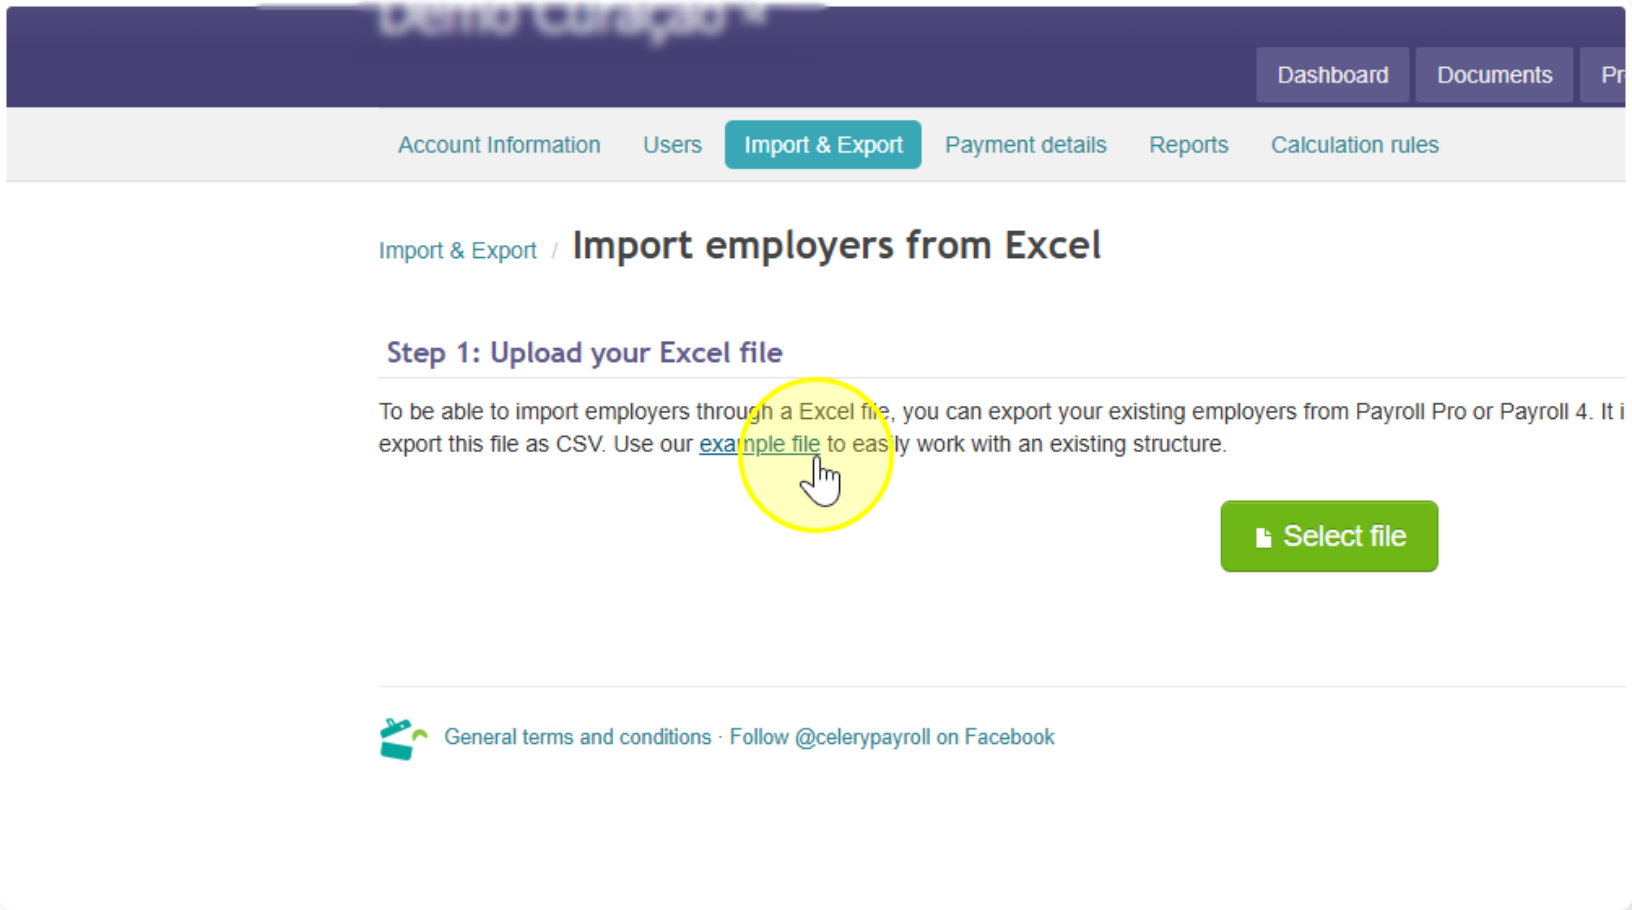
Step 1 — Download the template file
- Click on your account name (top right of the screen).
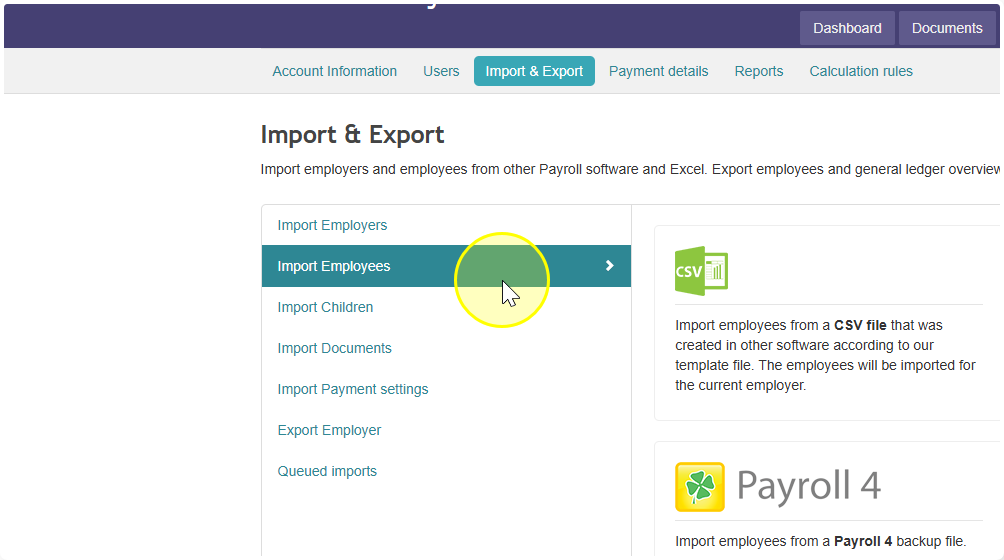
- Go to the Import & Export tab.
- Click Import Employees → then choose CSV or Excel.
- Download the sample file.
- Fill in your employee details. Do not add or remove any columns.
- Save the file when you're done.
Step 2 — Check your payment schedule
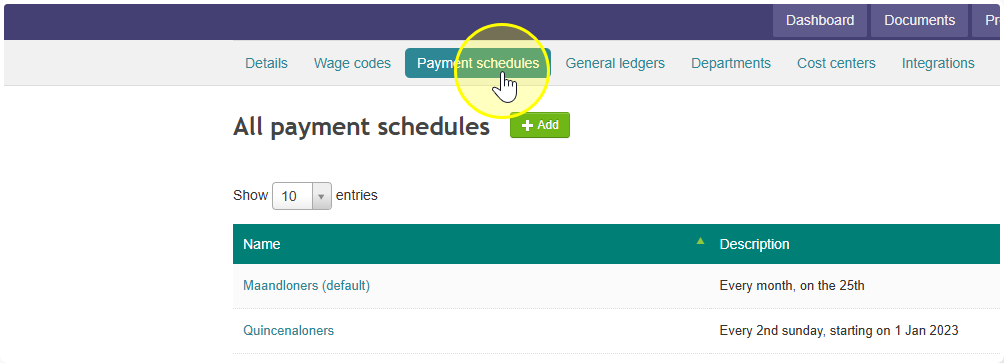
Before you import, make sure the right payment schedule is selected.
- Go to Employer → Payment Schedule.
- Check that the correct schedule has a tick (✓) next to it.
All employees will be added to this schedule.
Step 3 — Import the file
- Click on your account name (top right).
- Go to the Import & Export tab.
- Click Import Employees and choose your file type: CSV, Excel, or another program.
- Select the file you saved and click Open.
- Your employees will appear on screen.
- Select the employees you want to add and click Import.
- You'll see a summary when it's done. ✅
One thing to check after importing
Some things are not imported automatically:
- Family details
- Tax items
- Fixed pay codes and tax additions
After importing, check each employee's details and fill in anything that's missing.